How to make Levels and Elevations?
In Revit Architecture you can make as many levels as you want.
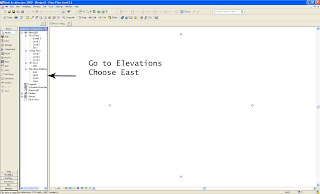
But first you need to learn where are the elevations views, because in the you can make the levels. Go to Project Browser and move to Elevations and choose East, North, South, West elevations view. Just like the image:

After clicking it you'll see something like this.
This is east Elevations view. You have that four elevations, east, west, north, south. Now You can see that there are 3 levels at distance 280 cm one of another. If you want to make a new Level. Choose level from Basic menu and then go to third level and move upwards the mouse up to 280 cm like the image I've shown. When you have the desire distance click with the left button of the mouse and drag to the right until it pop up a vertical line which indicates thah the level is aligned with the others. And there you go, now you know how to make levels and how to see the elevations ot the project (house, building and etc.)
And If you want to make some chanege of the hight of the floor.
Click at the floor and then change the distance:


1 Comments:
This projector is the perfect option for company and classroom usage, as a result of its long lamp life, solid image quality, and all-around simplicity of use. bestlaserlevelers.com has more information on the Best Laser Leveler - Detailed Reviews Of The Latest Laser Levelers - Page 2.
By Unknown, At
May 12, 2018 at 9:26 AM
Post a Comment
Subscribe to Post Comments [Atom]
<< Home